Want to make bath bombs but don’t have any molds? Here are 7 DIY Bath Bomb Molds you can make from household items!
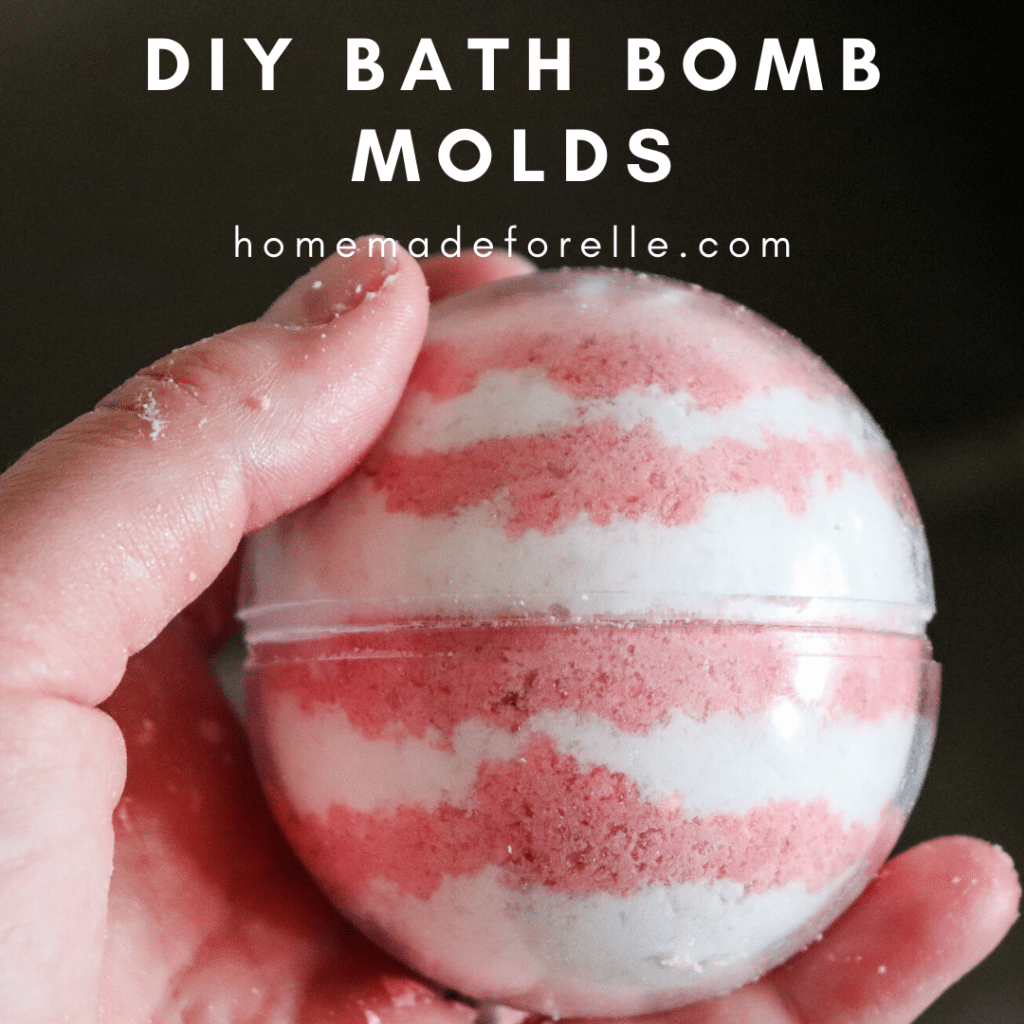
You have all of the ingredients for a bath bomb, but don’t want to spend extra for a mold? No problem! There are lots of household items that can be used as bath bomb molds.
Table of Contents
Bath Bomb Mixture
If you don’t already have a bath bomb mixture in mind, I have a lot of recipes to try! Check these out:
- Lush Bath Bomb Recipe
- Epsom Salt Bath Bombs
- Bath Bomb Recipe without Cornstarch
- Relaxing Lavender Bath Bombs
- DIY Mini Bath Bombs
- Homemade Calendula Bath Bombs
- Bath Bombs for Kids {with hidden toys}
- DIY Christmas Bath Bombs
DIY Bath Bomb Molds
Muffin Tins
You can use muffin tins to create a super easy bath bomb mold – either with mini muffin tins or full-size muffin tins. To create bath bombs in muffin tins, simply fill the tin up to the top, packing them in firmly, then level off. Allow about 4 hours to dry, then gently tap the tins and remove.
Silicone Tins
Similar to muffin tins, silicone tins make great bath bomb molds. They’re more pliable than metal tins, which makes them easier to use and remove.
To make bath bombs in silicone tins, simply fill the tin with bath bomb mix and pack tightly, then level off. Allow 4 hours to dry, then gently remove the bath bombs.
Measuring Cups
If you don’t have muffin or silicone tins handy, measuring cups will also work as a bath bomb mold. You can use 1/4, 1/3, or 1/2 cup measuring cups.
Fill your bath bomb mix to the top of the measuring cup, packing tightly, then allow to sit 4 hours to dry. When you’re ready to remove your bath bombs, turn the measuring cup over and gently tap the sides to release the bath bombs.
Silicone Muffin Liners
Silicone muffin liners hold their shape well and can also be used as a DIY bath bomb mold.
To use these, fill them with your bath bomb mixture to the top, packing in tightly. Use a butter knife to level off the top, then allow the mixture to dry 4 hours. Turn the muffin liner over and peel away the silicone liner. Allow bath bombs an additional 20 hours to dry before using.
Ice Cube Trays
Similar to muffin tins, ice cube trays work great as molds for making mini bath bombs. Fill the ice cube trays to the top, level off, then allow to dry for 4 hours. When you’re ready to remove the mini bath bombs, turn the ice cube tray over and gently tap the sides with a spoon to loosen up the bath bombs to remove.
Cookie Cutters
If you want to make creative shapes with your bath bombs, cookie cutters are a great way to go! These are especially great for holiday-themed bath bombs.
Using any shape, place your cookie cutter on a flat surface (parchment paper works great), then fill the cookie cutter to the top with your bath bomb mixture. Use a butter knife to smooth out the top. Allow to dry 20 – 30 minutes, then remove the cookie cutter. Allow the mixture to dry 24 hours before using.
Use your Hands
A super simple way to form bath bombs is to use your hands. Scoop up the bath bomb mixture and roll into a smooth ball. Place on parchment paper or a cookie sheet and allow to dry for 24 hours before using.
Other Resources for Making your own Bath Bombs
If you are new to making bath bombs, here are some other articles that can help you learn how to make and use bath bombs:
- Essential Oils for Bath Bombs – essential oils add natural fragrance to DIY bath bombs, but not all essential oils are appropriate. Here is a list of the best essential oils to use in homemade bath bombs.
- How to Use a Bath Bomb – if you want to learn the best way to use a bath bomb, plus tips on having a spa-like experience, this article is a great resource.
Other Bath Bomb Mold Ideas
Do you have any other creative ideas or household items you can use to make bath bombs? Leave a comment below to share it with the community!


How about those two-piece clear plastic fillable Christmas balls that you can get from the dollar store? Can those be used for bath bomb molds?
These were really useful, thanks!!