Learn how to make DIY Mini Bath Bombs at your home with a few ingredients!
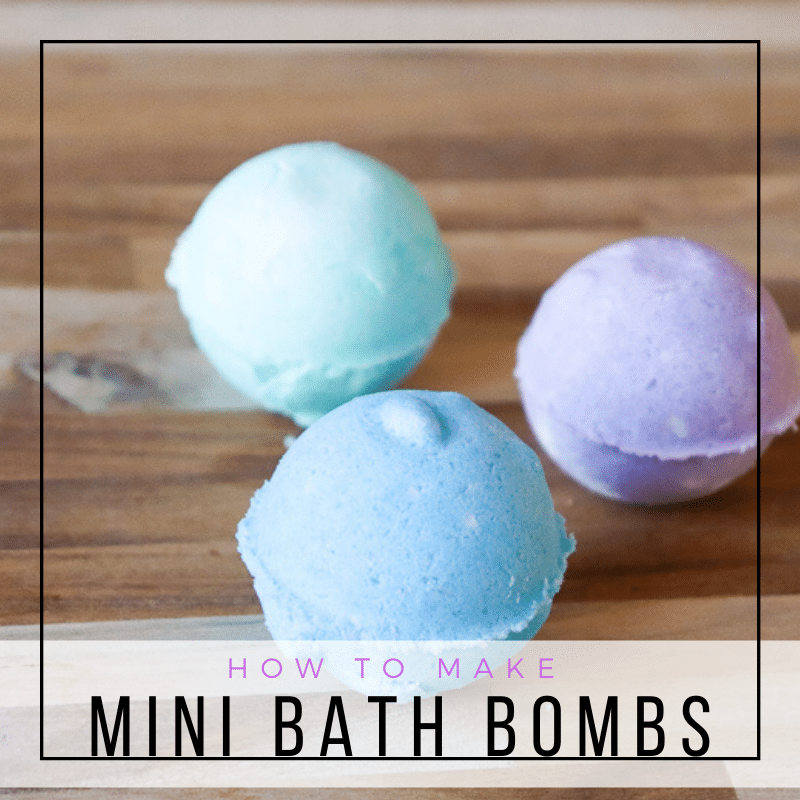
You know what kids love more than bath bombs?
Mini bath bombs!
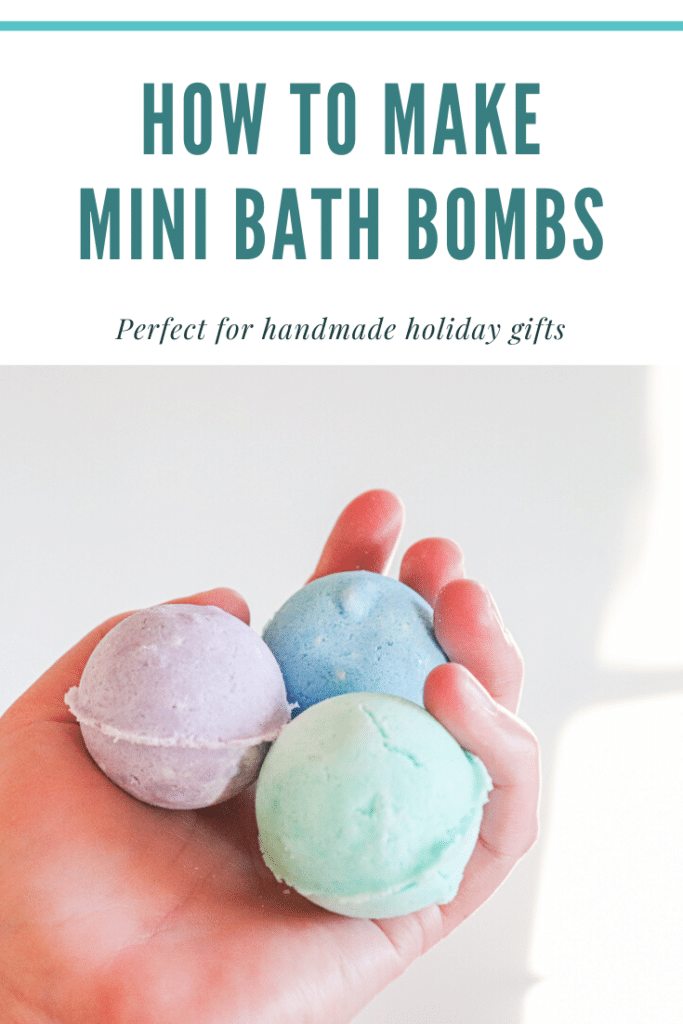
They’re smaller, colorful, and you can customize the scent in each bath bomb, which makes them perfect for little (or big!) kids who love bath time.
I’ve been making a lot of different DIY bath bombs lately, and these mini ones are definitely the cutest! They take the same ingredients as other bath bombs, so if you’ve made any recently, odds are you already have what you need!
Table of Contents
How to Make Mini Bath Bombs
Recipe makes approximately 12 mini bath bombs.
You’ll need to gather up your ingredients:
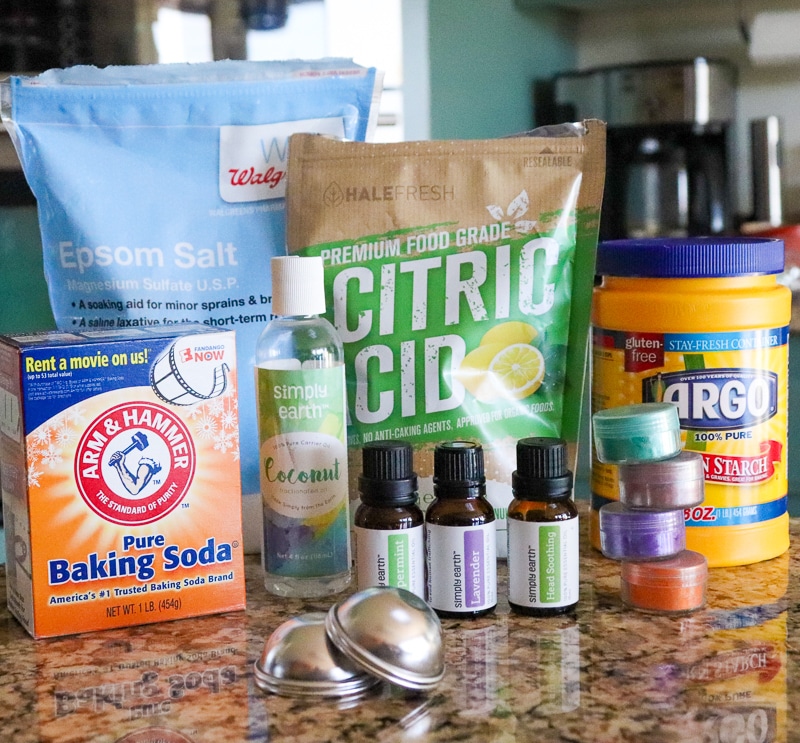
- Baking Soda
- Epsom Salt
- Cornstarch
- Citric Acid
- Coloring Pigment (optional, but really fun)
- Coconut Oil
- Essential Oil (also optional, but makes a big difference)
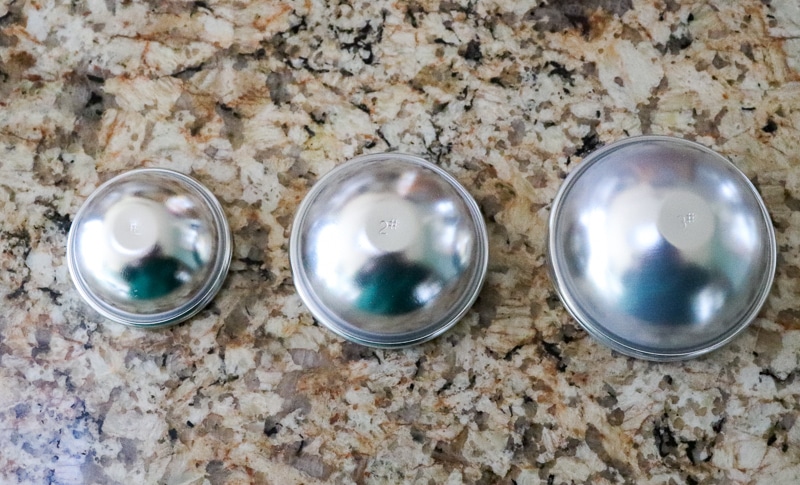
You’ll also need your bath bomb mold. What makes these bath bombs mini is the size of the mold. I ordered this set off of Amazon and used the smallest (1.9″) molds.
To make the DIY mini bath bombs, add baking soda, Epsom salt, cornstarch, and citric acid to a large bowl and stir to combine.
At this point, if you’re only making one color of mini bath bombs, add the pigment to the large bowl.
IF you want to make multiple colors of bath bombs, separate the mixture into different bowls (or coffee cups, like I did) and add the pigment to each bowl.
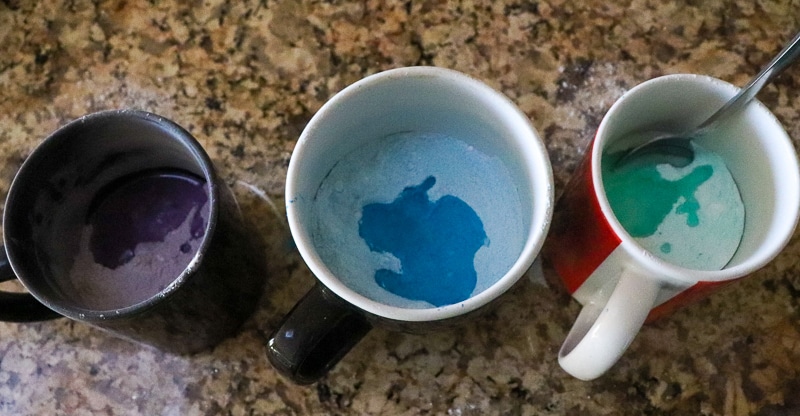
Stir the pigment into the other ingredients, mixing well.
Add the essential oil to your mixture(s) and stir well. If you’re using 2 or 3 different types of essential oil, add 10 – 12 drops per mixture.
In a small bowl, combine melted coconut oil and water. SLOWLY add this mixture to the dry ingredients and stir gently until combined. It should be similar in consistency to wet sand.
Note about the coconut oil: you can use melted coconut oil (just warm it up in the microwave for 30 seconds) or you can use fractionated coconut oil. Either works great in this recipe.
Pack both halves of your bath bomb mold, over-filling each slightly, then press the halves together, pressing firmly to seal. Allow the mold to set for 15-20 minutes, then lightly tap the sides of the mold with a spoon, then gently remove your bath bomb.
Repeat for remaining bath bombs.
Let the bath bomb sit for 24 hours before storing in a glass container.
Frequently Asked Questions
How to get Bath Bombs out of Mold
Let the mold sit for 15 minutes. Use a spoon to tap the outside of the mold, on both sides, to loosen the bath bomb. Open the mold and gently remove the bath bomb and place on parchment paper to dry, for 24 hours.
How Long will Homemade Bath Bombs Last?
Homemade mini bath bombs will last up to 6 months, as long as you keep them away from moisture.
Do you have any other Bath Bomb Recipes for Kids?
You know it! My kids also LOVE these bath bombs with hidden toys. They like to hide shopkins inside of them. Super fun!
DIY Mini Bath Bombs
Adorable and colorful DIY mini bath bombs you can make at home.
Ingredients
- 1 cup baking soda
- 1/2 cup Epsom salt
- 1/2 cup cornrstarch
- 1/2 cup citric acid
- 1 tsp coloring pigment optional
- 3 tbsp coconut oil melted
- 1 tbsp water
- 25 drops essential oil optional
Instructions
-
In a large bowl, combine baking soda, Epsom salt, cornstarch, and citric acid.
-
If using multiple colors, divide mixture into separate containers, then add pigment.
-
Add essential oil(s) to each mixture.
-
In a small bowl, combine melted coconut oil and water. Divide coconut oil equally among mixtures, then SLOWLY mix the ingredients together. The consistency should be similar to wet sand.
-
Pack both halves of your bath bombs, over-filling each slightly. Firmly press together to seal. Set aside for 15 minutes.
-
Use a spoon to gently tap the sides of the bath bomb mold, then gently remove your bath bomb.
-
Allow bath bomb to sit for 24 hours before transferring to a glass container for storage. Bath Bombs will last up to 6 months.
Pin it –>
Save this recipe to your DIY Beauty board on Pinterest so other creative people, like you, can make them!


Leave a Reply